
In this article, learn how to install or deploy software using Group Policy in Windows Server 2019. You'll need software MSI package for this.
Updated: March 20, 2020 · 06:43 PM

If you’re an IT admin, you may often need to deploy different software for your clients. Deploying apps to your clients is not a very tedious thing and we’ll be discussing the step-by-step process involved in this article.
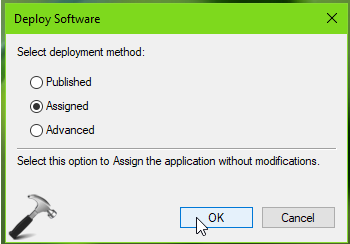
While you deploy the software, some things you must take care of in advance. The software file you’ll be using for installation should be on a network. Secondly, the Group Policy level at which you want to deploy software: machine or user level. There are three levels of deployment: Published, Assigned, Advanced. Published means the software is readily available to users and can be installed from Add or remove programs. While Assigned implies that program is assigned to program distribution and will be installed when user logs on. But you need to select those settings additionally.
Here is the process that you can use for deployment of your software.

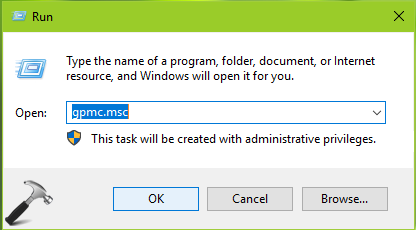
1. Press + R and type gpmc.msc in Run dialog box to open Group Policy Management snap-in. Click OK.
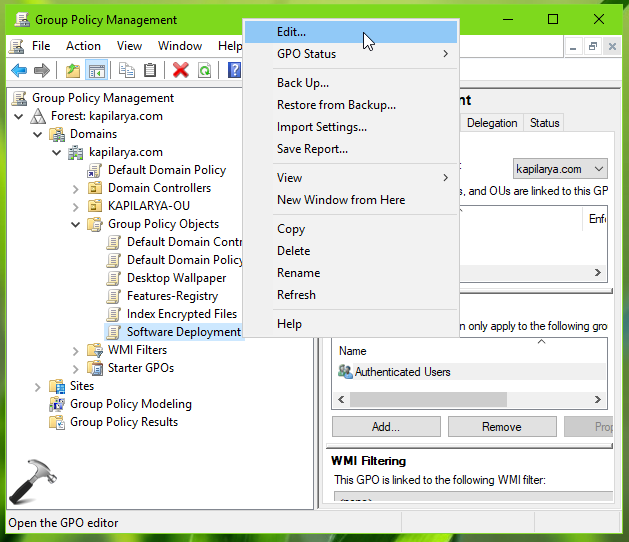
2. In Group Policy Management window, create a GPO object and link it to your domain. Right click on the GPO object and select Edit.
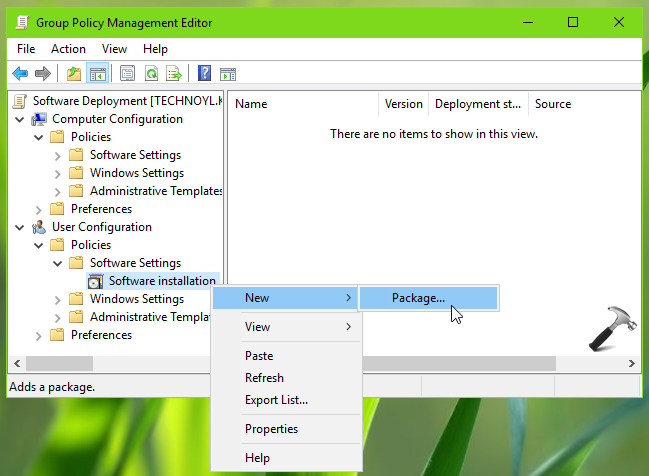
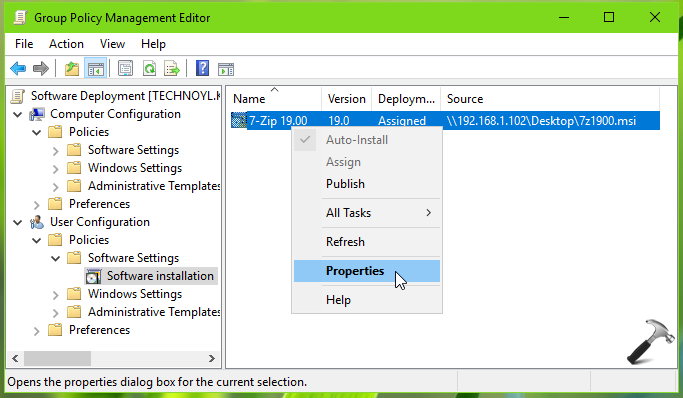
3. In the Group Policy Management Editor window opened next, select the mode of deployment. If you want to deploy it at machine level, go to Computer Configuration > Policies > Software Settings > Software installation. Else go to User Configuration > Policies > Software Settings > Software installation, if you want to deploy it at user level. We opted for user level in this example. So right click on Software installation folder and select New > Package.
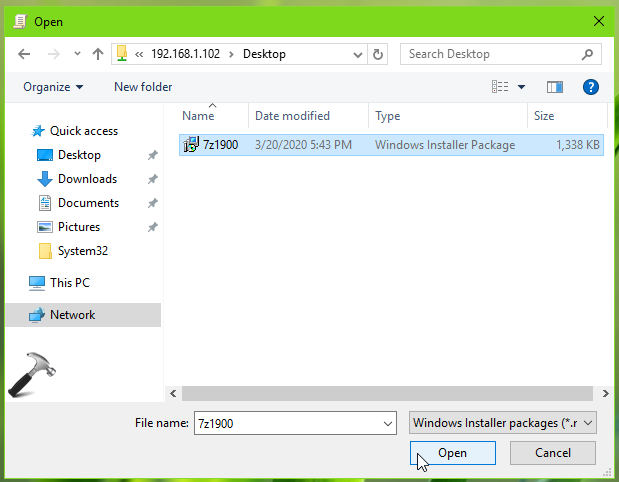
4. Now browse for MSI file based software installation file and select it.
Note: The software installation file you select should be on a network location which is accessible by your clients.
5. Next, select the Deployment type from Published, Assigned, Advanced. We selected Assigned option here.
6. Moving on, back in the GP Editor window, right click on the software installation entry and select Properties.
7. On the property sheet, switch to Deployment tab, and select Install this application at logon option. Click Apply, followed by OK and exit Group Policy.
Note: If you found Install this application at logon option greyed out, refer this fix .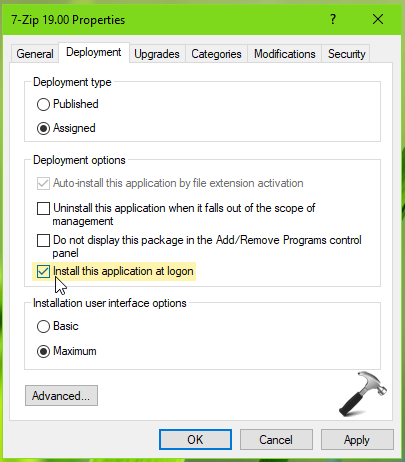
8. Update the Group Policy engine using gpupdate /force command. Your clients will get the software deployed upon next logon or settings you chosen.
See this video to illustrate this guide:
July 19, 2024
April 23, 2024
November 30, 2023
April 14, 2023
This post is written by Kapil Arya, Microsoft MVP.
Kapil is 11-times Microsoft MVP in Windows IT Pro expertise, since 2014. He is 8-times Windows Insider MVP as well, and author of 'Windows Group Policy Troubleshooting' book. In 2015, Microsoft India accomplished him as 'Windows 10 Champion'. Being passionate Windows blogger, he loves to help others on fixing their system issues. Kapil has worked with official Microsoft Community Engagement Team (CET) on several community projects. You can subscribe him for news/updates and fixes for Windows.